Best Phone Camera Settings That Improve Video Quality (for OnlyFans)
If your videos look “fine” in your camera roll but soft, noisy, or weirdly colored after you upload, you’re not imagining it. OnlyFans (like most platforms) ...
If your videos look “fine” in your camera roll but soft, noisy, or weirdly colored after you upload, you’re not imagining it. OnlyFans (like most platforms) processes video, and phone cameras also “help” by auto-adjusting exposure and color mid-clip. The good news is you don’t need a new phone to get a noticeably more professional look. You need the right phone camera settings (and a couple of simple locks) so your video stays consistent from start to finish.
Below is a creator-friendly setup you can do today, plus quick presets for different content types.
The 5 phone camera settings that actually move the needle
Most creators tweak the wrong stuff first. These are the settings that make the biggest difference for OnlyFans video quality.
1) Resolution: 1080p vs 4K
- 1080p is usually the safest choice for fast uploads, smaller file sizes, and fewer headaches.
- 4K can look sharper, but only if your lighting is good and your phone has enough storage. It also gives you flexibility to crop in (for example, turning a full-body shot into a tighter frame).
Creator reality: if your lighting is not great, 4K does not magically fix it. It can even make noise look more obvious.
2) Frame rate (FPS): 30 vs 60
- 30fps looks natural for talking, teasing, and “girlfriend experience” style clips.
- 60fps looks smoother for movement (dancing, try-ons, shower routines), but it needs more light.
A simple rule: if your room is dim, pick 30fps.
3) Exposure (brightness): lock it so it stops “pumping”
Phones love to brighten and darken while you move. That looks amateur fast.
What you want:
- Set exposure so your skin tone looks flattering.
- Lock exposure so it does not change mid-video.
4) White balance (color): stop the “orange then blue” problem
If your video shifts warm to cool while you move, that’s auto white balance reacting to different light sources.
Best practice:
- Use one main light source (window light or one key light).
- If your phone/app allows it, lock white balance.
5) Focus: lock it on your eyes (or your main subject)
Hunting focus ruins intimate, close clips.
Best practice:
- Tap your face to focus.
- Lock focus so it doesn’t jump to the background.
The “best” presets (pick based on what you’re filming)
Use this table as your default. You can tweak later, but these are solid starting points for most OnlyFans creators.
| What you’re filming | Recommended resolution | FPS | Stabilization | Notes |
|---|---|---|---|---|
| Talking to camera (welcome video, customs intro, teasing) | 1080p | 30 | Off if on tripod, on if handheld | Lock exposure and focus for a consistent look. |
| Full-body (lingerie try-on, dancing) | 1080p | 60 (or 30 if dim) | On if handheld | 60fps needs brighter light to avoid noise. |
| Low-light “bedroom vibe” | 1080p | 30 | Off on tripod | Add light first (even a small lamp with diffusion). Avoid digital zoom. |
| Close-up detail (hands, body oil, POV angles) | 4K if storage allows, otherwise 1080p | 30 | Off on tripod | Use rear camera if possible, lock focus carefully. |
| Live streaming (if using phone) | 1080p | 30 | On if handheld | Stable Wi-Fi matters as much as camera settings. |
If you also do Live, this pairs well with our streaming workflow guide: How to Stream on OnlyFans Live Like a Pro.
Your 60-second setup checklist (before you hit record)
Keep this as your repeatable pre-shoot ritual.
- Clean your lens (seriously, it fixes “mystery blur”).
- Use the rear camera when possible (it’s usually better than selfie cam).
- Set 1080p/30fps as your default.
- Tap to focus on your face (or main subject), then lock focus.
- Adjust brightness slightly down (phones often over-brighten skin), then lock exposure.
- Turn off digital zoom. Move the phone closer instead.
- If you’re on a tripod, consider turning stabilization off (some phones crop the image when stabilization is on).
Best iPhone camera settings for OnlyFans video quality
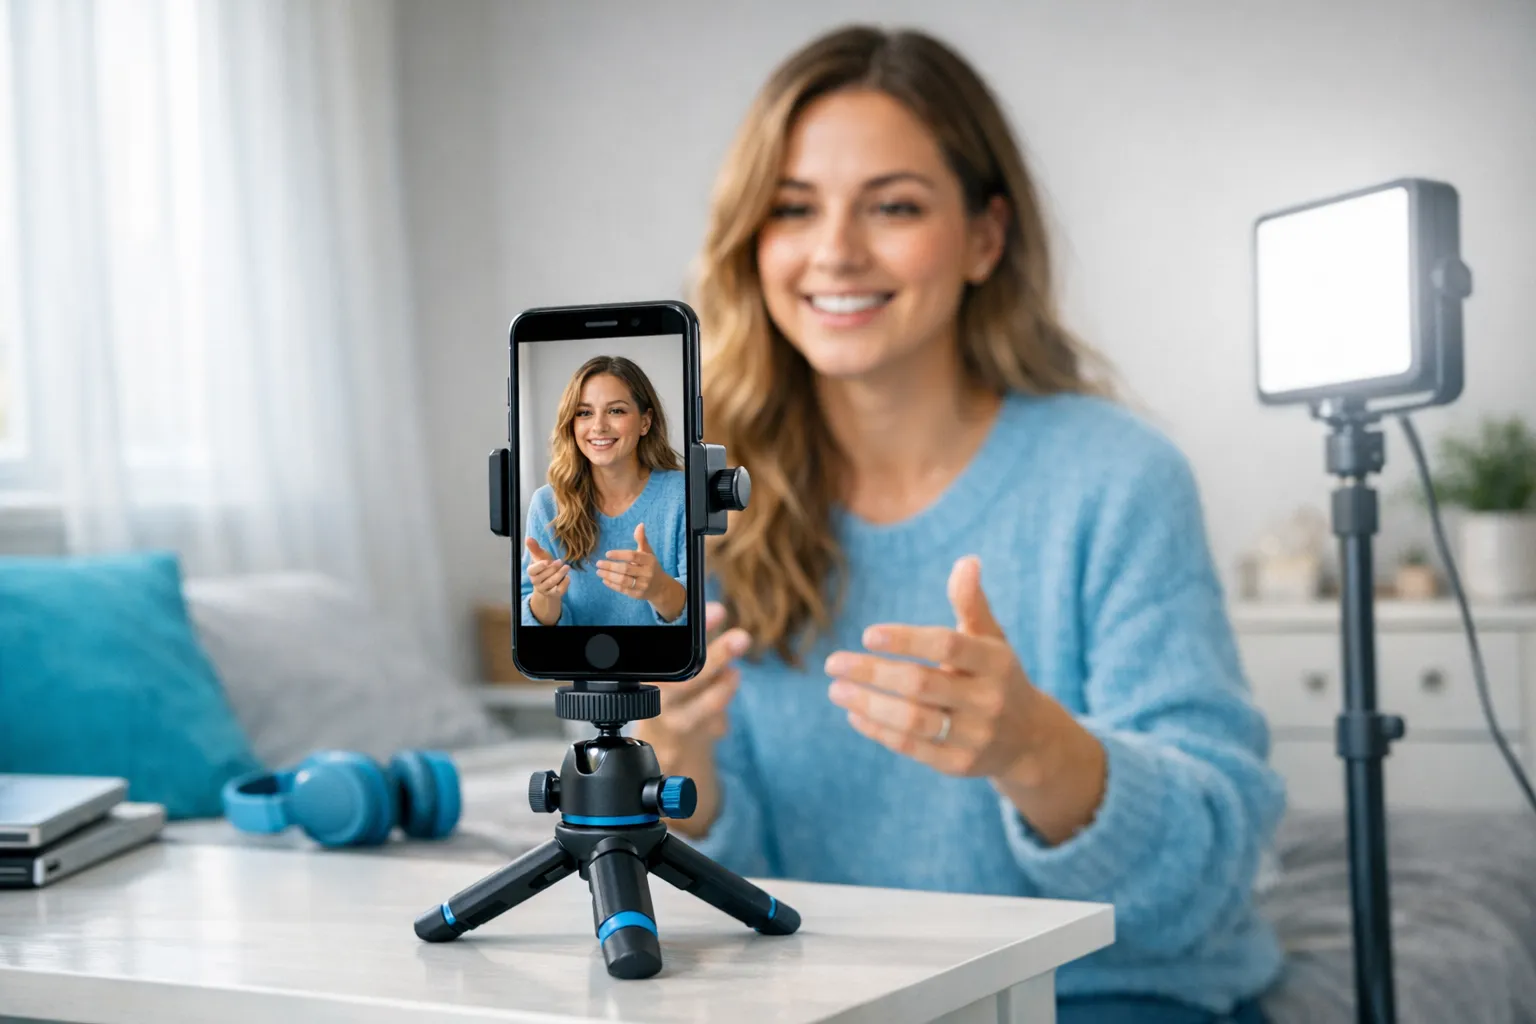
Apple’s Camera app is excellent, but it’s built for “auto.” Your goal is to take control of the parts that look messy on adult content: exposure shifts, focus hunting, and mixed lighting.
Set your iPhone recording quality
Go to Settings > Camera > Record Video and pick:
- 1080p at 30 fps (best all-around)
- 1080p at 60 fps (movement, bright light)
- 4K at 30 fps (if you want extra sharpness and have good light)
If you see options like HDR video, test it first. HDR can look stunning, but it can also create a “too processed” look depending on your lighting and skin tones.
Lock focus and exposure (the most important iPhone move)
In the Camera app:
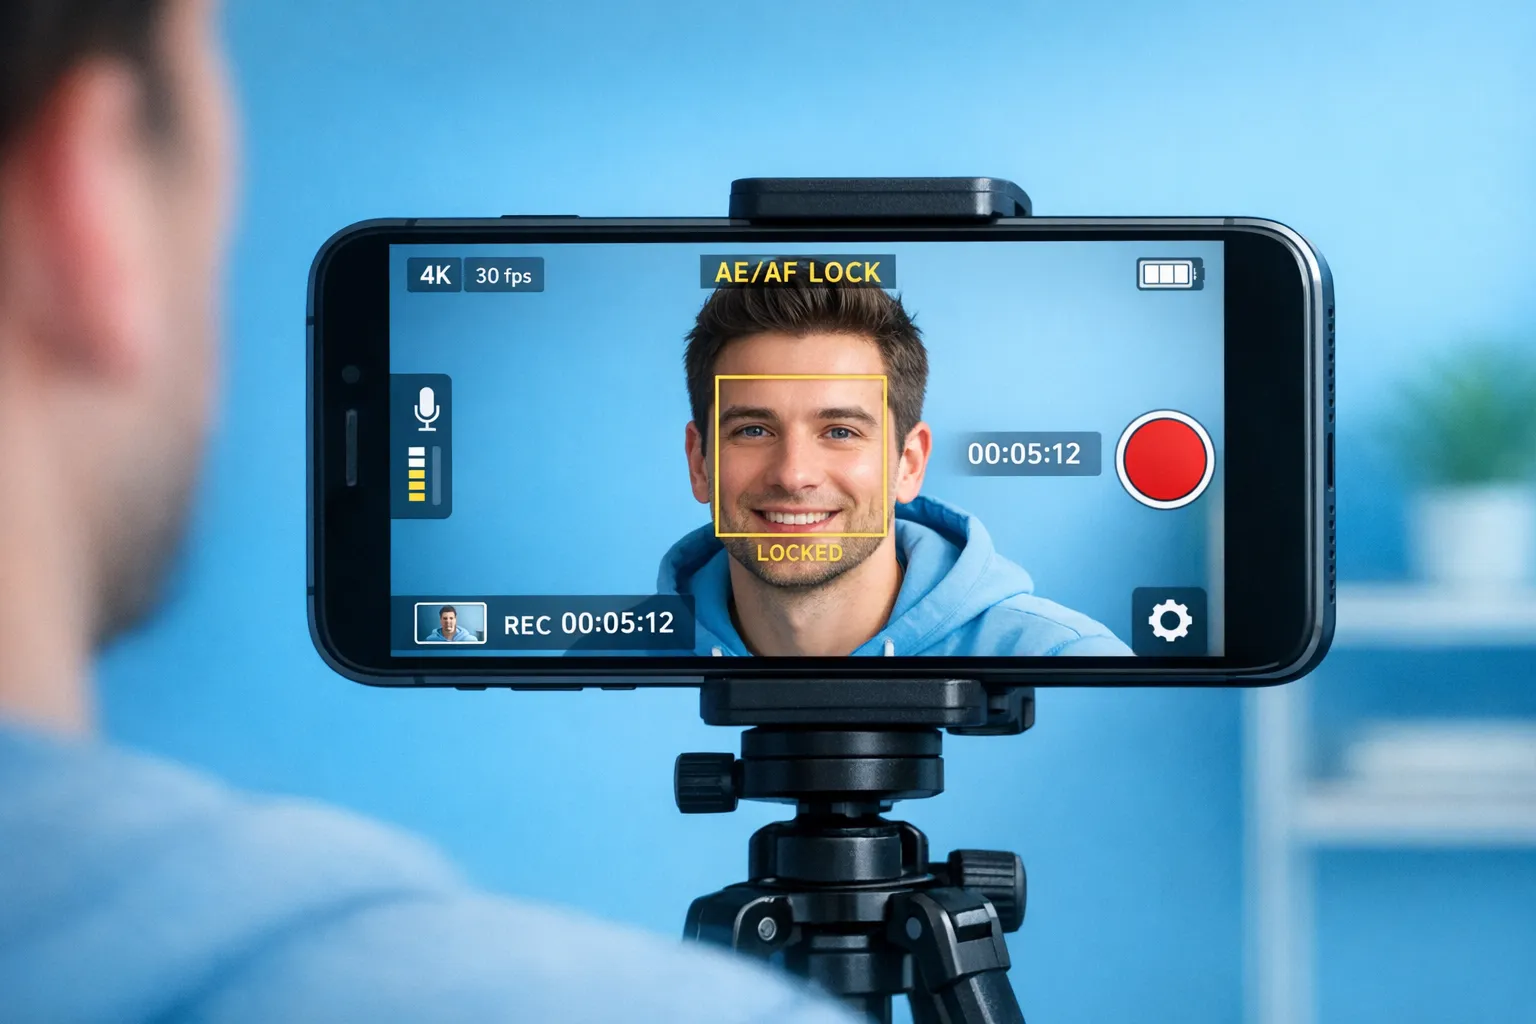
- Tap and hold on your face until you see AE/AF Lock.
- Slide your finger up or down to fine-tune brightness.
Do this especially for strip-tease style clips or any video where you move closer and farther from the camera.
Use the rear camera when you can
For customs and PPV where quality sells, use the rear camera and a mirror or a cheap Bluetooth remote to start recording. The rear camera is usually sharper with better dynamic range.
Best Android phone camera settings (Samsung, Pixel, and others)
Android varies by brand, but the strategy is the same: choose stable FPS, control exposure, avoid low light noise.
Find your resolution and FPS
Open your camera, switch to Video, then look for:
- Resolution (FHD/1080p or UHD/4K)
- FPS (30 or 60)
If your phone has Pro Video mode, you may be able to set shutter speed, ISO, and white balance. If it doesn’t, no stress, you can still get great results by locking exposure/focus and improving lighting.
If you have Pro Video controls, use this simple “cinematic motion” rule
This is optional, but powerful.
- For 30fps, aim for a shutter speed around 1/60.
- For 60fps, aim for a shutter speed around 1/120.
If the image gets too dark after setting shutter speed, add light before you crank ISO way up. High ISO is what creates the ugly grainy look.
Stabilization note
Some Android phones apply strong stabilization that crops the frame. That can be great handheld, but annoying if you carefully framed a full-body shot. If you’re on a tripod and notice cropping, turn stabilization off.
Fix the 6 most common “bad video” problems (fast)
Use this diagnostic table when something looks off.
| Problem you see | Likely cause | Fast fix |
|---|---|---|
| Grainy/noisy video | Low light, high ISO | Add light, switch to 30fps, avoid 4K in dim rooms. |
| Video keeps getting brighter/darker | Auto exposure changing | Tap and lock exposure, reduce backlight (close blinds, move light in front of you). |
| Skin tone looks orange or green | Mixed lighting temps (window + warm lamp) | Turn off the warm lamp, use one main light source, lock white balance if possible. |
| Focus jumps to the background | Autofocus hunting | Tap your face and lock focus, increase light on your face. |
| Flicker in lights | LED bulbs + shutter mismatch | Try 30fps, change rooms/light source, or swap to a different LED. |
| Shaky handheld footage | No stabilization or too much movement | Use a tripod, a phone clamp, or stabilization (but watch for cropping). |
A quick word on lighting (because it affects your camera settings)
Camera settings can only do so much. If your light is bad, the phone will “solve” it by raising ISO and smoothing your skin, which looks like blur.
Two creator-friendly lighting rules:
- Put your main light in front of you (not behind you). Window light facing you is perfect.
- If you can, use a soft light source (a cheap softbox, a diffused LED, or window light through a sheer curtain).
If you’re building a repeatable content routine, pair this article with a solid content plan so you’re not reinventing your setup every week: Best OnlyFans Content Ideas (What to Post on OnlyFans) in 2025.
Recording format, editing, and upload (so quality survives OnlyFans processing)
A few practical tips so your video still looks good after you edit and upload:
Record a clean “master” first
- Film in your chosen setting (1080p/30 is fine).
- Save the original before you edit.
Avoid stacking heavy filters
Beauty filters + smoothing + sharpening often look okay on TikTok, but they can look crunchy after compression. If you want a polished look, prioritize:
- Better lighting
- Stable framing
- Clean lens
Export settings (simple and safe)
If your editor asks:
- Export 1080p unless you truly need 4K.
- Use 30fps if that’s what you recorded.
Exact bitrate recommendations vary by app and phone, so treat any “perfect bitrate” advice online as a starting point, not a rule.
Privacy-first camera settings (don’t skip this)
Especially for creators who are no-face, semi-anonymous, or just cautious.
Turn off location tagging
On iPhone and Android, you can disable location access for the camera. This reduces the risk of location metadata being attached to files.
Important: platforms and apps may strip metadata, but do not rely on that. It’s safer to control it at the source.
Watch your reflections and background clues
Before filming, scan for:
- Mirrors, windows, glossy frames
- Mail, packages, school/work items
- Distinctive neighborhood sounds (if audio is very clear)
If anonymity matters to you, you’ll also like: How to Make Money on OnlyFans without Showing Your Face & Stay Anonymous.
When your settings are “good” but sales are still slow
This is the honest part: better video quality helps conversions, but it’s not the whole business.
Use this quick decision framework:
If traffic is low
Your camera settings won’t matter much yet. Your priority is promotion and funnels.
If traffic is decent but subs don’t convert
Your profile, bio, and preview content need work (positioning and clarity often beat “more explicit”). Start here: 21 Best OnlyFans Bio Ideas (That Actually Get Subs).
If subs are buying, but you’re drowning in DMs
That’s when outsourcing starts making sense, because response time is money in adult creator businesses. If you’re weighing options, this breakdown is helpful: Working With an Agency vs Running OnlyFans Alone.
How Lookstars helps (if you want this handled professionally)
If you’re tired of guessing, Lookstars supports creators with OnlyFans account management, including posting strategy, multi-platform marketing, 24/7 chatting, and privacy-focused operations like leak monitoring and takedowns. You keep focusing on content, while a team helps turn that content into a consistent business.
If you’re in “research mode” and want to vet management safely first, read: 6 Red Flags to Watch Out for Before Signing with an OnlyFans Agency.
If you apply these settings and record 3 to 5 clips with consistent lighting and locked exposure, you’ll usually see an immediate jump in perceived quality (the kind that makes your page feel more premium, even before you change anything else).
Ready to transform your career?
Join hundreds of creators already earning six figures with Lookstars Agency.
Share this article
Best OnlyFans Agency
Europe's Leading OnlyFans Management Agency.
100% Free Ebook
Get our guide and unlock the secrets to OnlyFans success.
100% Free Ebook
Get our guide and unlock the secrets to OnlyFans success.
Free Revenue Calculator & Profile Analyzer
Try them for freeContinue reading...
Am I Attractive Enough for an OnlyFans Agency? The Answer
Can You Ever Fully Delete Your OnlyFans Content? The Reality